THIS Polygon Modelling Techniques READ NOW - Is the keyword that you are looking for, and you find it on the blog
Home Design Collection, in this article we will discuss THIS Polygon Modelling Techniques READ NOW, as you need. I have been trying to collect a lot reperensi to you in building the house from various sources and I choose the best, which looks nice, lovely, good in view and certainly comfortable to inhabit.
This is about :
THIS Polygon Modelling Techniques READ NOW
And this article :
THIS Polygon Modelling Techniques READ NOW
Article 3d modelling,
Article basics of 3d modelling,
Article blender,
Article modelling,
Article object,
Article polygon,
Article polygon modelling,
Article tutorial,
You can also see our article on:
THIS Polygon Modelling Techniques READ NOW
 |
| Polygon Modelling Techniques |
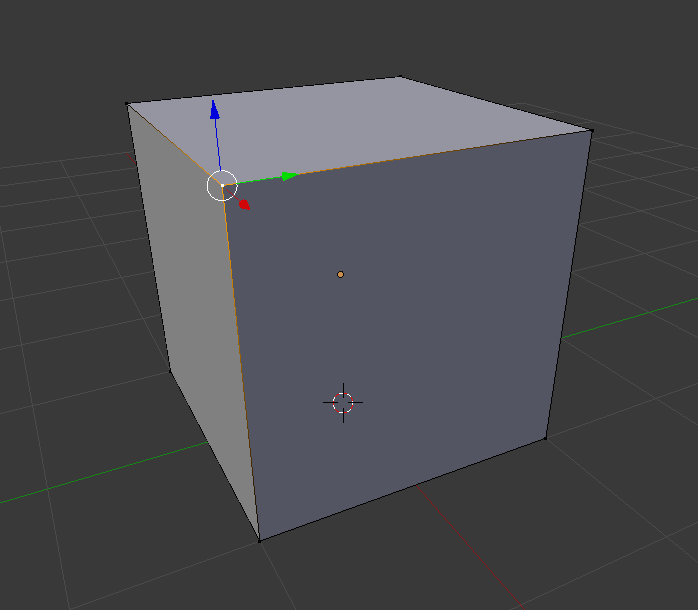
Polygon Modelling is a technique used to model objects in Blender in a series of different ways. It can be used in a lot of different ways, and is used in a lot of general modelling. Each of these techniques can only be used in edit mode (tab) in Blender.
Once you understand how to use these techniques and shortcuts, you'll have access to creating more objects by modelling them yourself, for example, turning a cube into a table, or a plane into a room, or a simple curve into a wine bottle.
In this tutorial, I'll be explain each polygon modelling technique, and show you an example of each technique. I'll also give you the shortcuts for the techniques that have them.
Polygon Modelling Basics
Polygon Modelling techniques are applied to the three different parts of an object in edit mode; Faces, Vertices, and Edges. These can be selected in Edit Mode (tab), and are located at the bottom of the screen (only when in edit mode) as shown below.
 |
| From Left: Vertex select, Edge select, Face select |
Face:
This is the surface between three or more Vertices.
 |
| Face Select |
Vertex:
These are the points that are located at the end of every Edge.
 |
| Vertex Select |
Edge:
These are the lines that connect two Vertices, and surround Faces.
 |
| Edge Select |
Polygon Modelling Techniques
*Keyboard shortcuts are in bracketsExtrude (E):
This extracts a new edge, face or vertex from one that has already been selected. For example, you can extrude a face from a selected face, an edge from a selected face, and a vertex from a selected vertex.
 |
| Extruded Edge |
Bevel (Ctrl + B):
Bevel can only be applied to the faces of objects. Its function is to create an additional face below the one that is selected, which in turn, angles the edges between the faces on the object.
 |
| Bevel Technique |
Inset (i):
This technique can only be used on the faces of objects. Inset allows you to create another face inside the one that you had previously selected.
 |
| Inset Technique |
Spin:
Spin is used to rotate a face or edge that is selected around an axis, based on where the placement of the 3D Cursor is on the project. There is no keyboard shortcut so just use the spin button and options in the toolbar.
 |
| Spin Technique on face |
Merge (Alt + M):
This technique merges multiple vertices, edges, or faces together. It is generally only used on vertices or edges.
 |
| Merge Technique |
Subdivide:
Subdivide is used to divide the face of an object into separate segments, thus creating more faces upon the one that has been divided. There is no keyboard shortcut so just use the sub-divide button and options in the toolbar.
 |
| Subdivided Technique |
Knife (K):
The knife technique allows you to manually cut through vertices and faces, creating new vertices, edges and faces.
 |
| Knife Technique used to cut surface of face |
Loop, cut and slide (Ctrl + R):
This is a process with three parts, as the name suggests - loop, cut, and slide. The first is to loop a selection around an object, choosing which axis to cut on. The second is cut, which cuts the object on the chosen axis. The final is slide, in which you can slide the cut along the edge or face, before clicking and finishing the cut.
 |
| Loop |
 |
| Cut |
 |
| Slide |
Fill (F):
This allows the user to fill in a gap that may appear in an object in the scene.
 |
| Gap that may appear |
 |
| Gap is filled in with Fill technique |
Bisect:
This is used to split objects into separate sections. There is no keyboard shortcut so just use the bisect button and options in the tool bar.
 |
| Manual Bisection |
 |
| Lifted Bisection to show properly |
Try some of these techniques yourself. Once you familiarize yourself with them, you can go onto experiment and make a lot of high quality objects and scenes in Blender.
 |
| Sample scene created with Polygon Modelling techniques |
Umpteen articles THIS Polygon Modelling Techniques READ NOW
We have finished discussing THIS Polygon Modelling Techniques READ NOW, we hope to give a good benefit for you in building a house that you want as a level of comfort that you dream about with the family.
No've finished reading
THIS Polygon Modelling Techniques READ NOW and please look again at our other articles. You can visit this page again with the link
http://homedesigncollection12.blogspot.com/2016/01/this-polygon-modelling-techniques-read.html I hope our discussion this time
you can use as well as possible.
,
basics of 3d modelling,
blender,
modelling,
object,
polygon,
polygon modelling,
tutorial,


0 Response to "THIS Polygon Modelling Techniques READ NOW"
Posting Komentar